Ever find yourself with a Yamaha TTR 110 that just won't start? The culprit is often a tired battery, leaving you sidelined and itching to ride. But don't worry, bringing that battery back to life is easier than you might think!
Dealing with a dead battery on your TTR 110 can be frustrating. You're ready to hit the trails or let the kids enjoy some backyard riding, but a flat battery brings everything to a halt. Nobody wants to be stuck fiddling with cables and chargers when they could be out having fun.
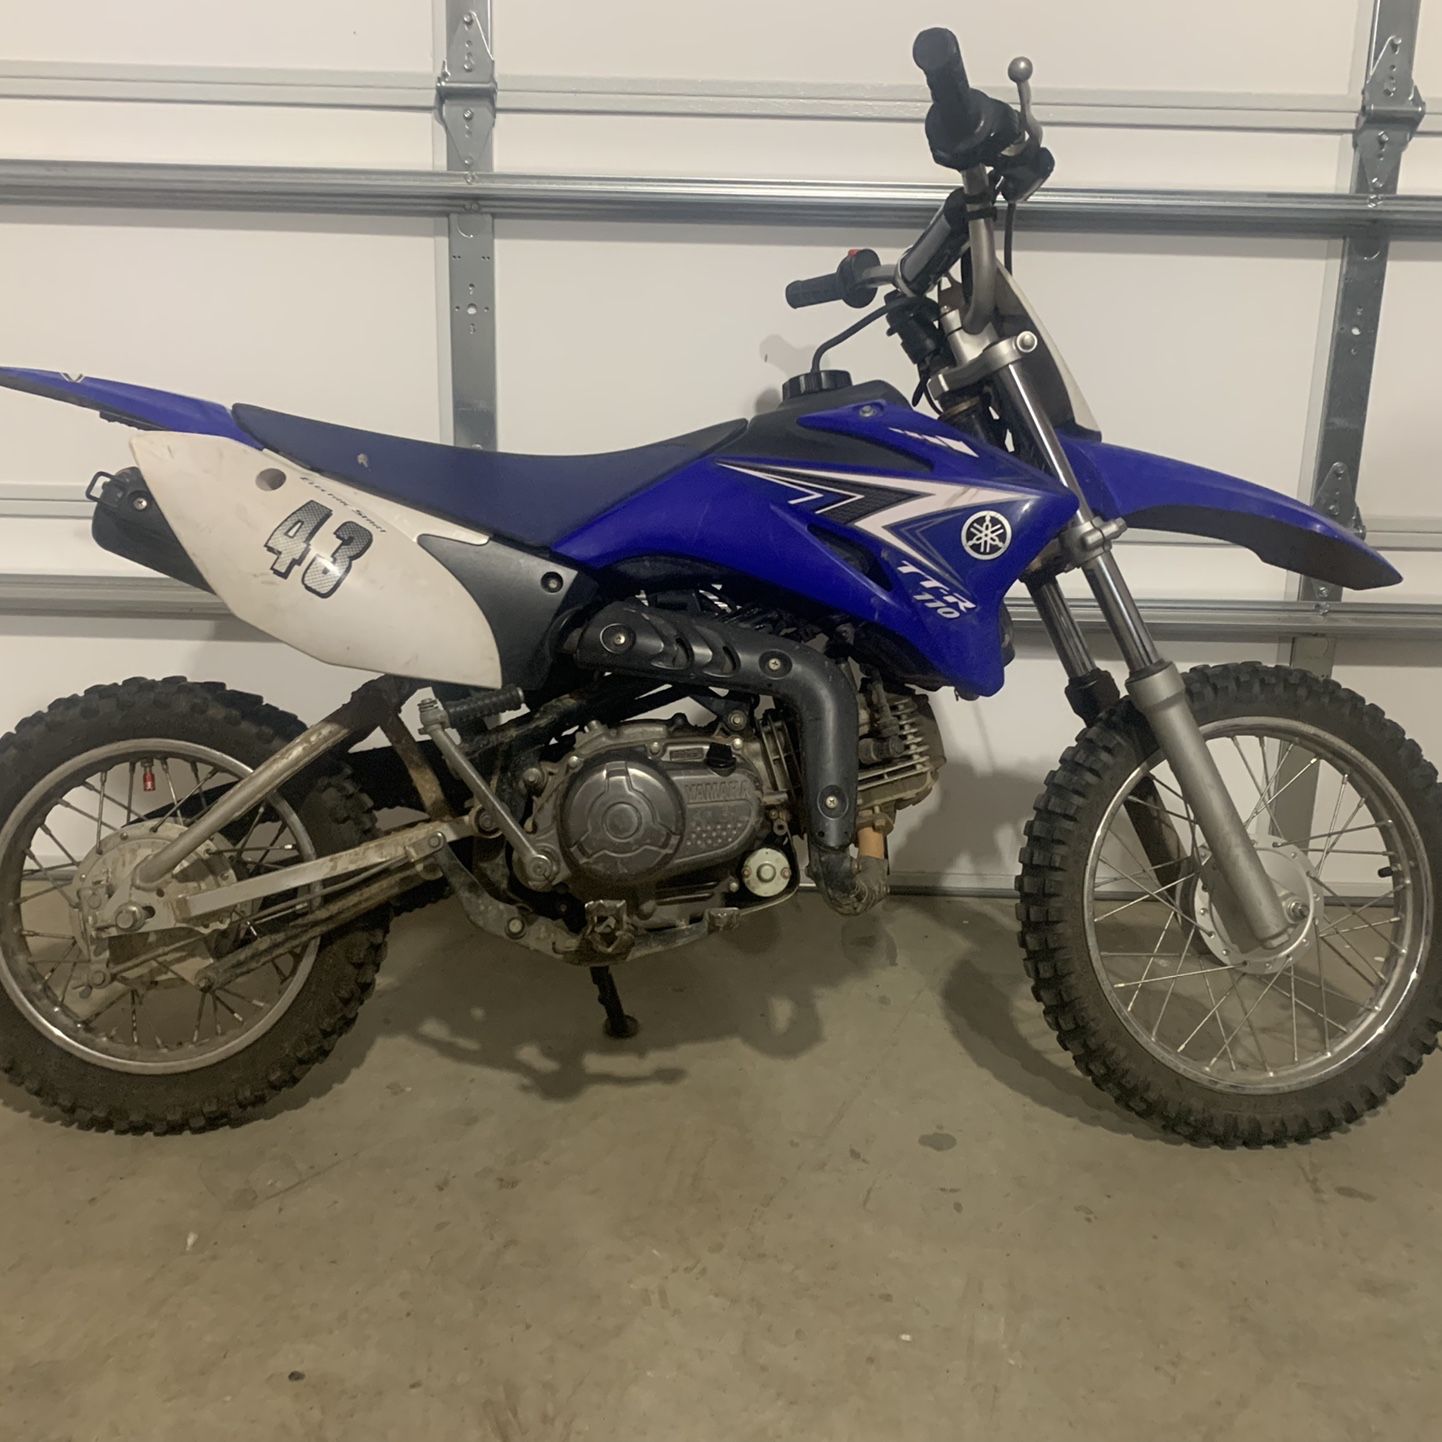
Charging the battery on your Yamaha TTR 110 is a straightforward process. You'll need a battery charger compatible with your battery type (usually a 12V charger), and some basic tools. First, locate the battery on your TTR 110. It's usually under the seat or behind a side panel. Disconnect the battery cables, making sure to disconnect the negative (-) terminal first. Connect the charger to the battery, matching the positive (+) and negative (-) terminals. Set the charger to the appropriate charging rate (usually a low amperage setting for a motorcycle battery). Let the battery charge until it's fully charged, according to the charger's instructions. Once charged, disconnect the charger, reconnect the battery cables (positive first!), and you should be good to go!
In summary, keeping your Yamaha TTR 110 battery charged involves locating the battery, safely disconnecting it, connecting it to a compatible charger, and allowing it to charge fully before reconnecting. Regular charging and maintenance will ensure your TTR 110 is always ready for your next adventure. Keywords: Yamaha TTR 110, battery, charging, motorcycle battery, maintenance.
Understanding Your Yamaha TTR 110 Battery
The goal here is to understand the specific type of battery used in your Yamaha TTR 110. This understanding informs the type of charger you need and how to properly maintain the battery's health. My first experience with battery charging wasn't on a TTR 110, but on an old ATV. I mistakenly used a car battery charger, which, while it worked in the short term, significantly shortened the battery's lifespan. It was a costly lesson learned, emphasizing the importance of using the correct tools.
The Yamaha TTR 110 typically uses a 12-volt sealed lead-acid battery. These batteries are compact and relatively maintenance-free. However, they are susceptible to damage from overcharging or deep discharging. That's why a smart charger is recommended. A smart charger automatically adjusts the charging rate and can even switch to a maintenance mode once the battery is fully charged, preventing overcharging. Before you even think about connecting a charger, double-check your battery's specifications. It's usually printed directly on the battery casing. This will tell you the voltage and amp-hour (Ah) rating, both crucial for selecting the right charger. Neglecting this step can lead to irreversible damage to the battery, costing you more in the long run. Properly understanding your battery's needs ensures a longer lifespan and reliable starting power for your TTR 110.
What is Battery Charging for a TTR 110?
Battery charging, in essence, is the process of reversing the chemical reaction that occurs when the battery discharges. During discharge, the battery produces electrical energy, but the chemical components are depleted. Charging replenishes these components, allowing the battery to store and release energy again. For a Yamaha TTR 110, this means ensuring the battery has enough stored energy to power the starter motor and other electrical components. Failing to properly charge the battery will result in a TTR 110 that simply won't start or will experience dim lights and weak performance.
The actual charging process involves connecting the battery to a charger that supplies a direct current (DC) voltage. This voltage forces electrons back into the battery, reversing the chemical reactions. The charger's amperage (amps) dictates how quickly the battery charges. A higher amperage charger will charge the battery faster but can also generate more heat, potentially damaging the battery if not monitored carefully. A low-amperage, slow charge is generally considered the safest and most effective method for motorcycle batteries like the one in your TTR 110. Slow charging minimizes heat buildup and allows the chemical reactions to occur more thoroughly, leading to a longer battery life. Furthermore, smart chargers incorporate features like voltage regulation and automatic shut-off to prevent overcharging. Regular charging, even when the TTR 110 is not in use, helps maintain the battery's optimal charge level, preventing sulfation (the buildup of lead sulfate crystals), which can reduce battery capacity and lifespan. By understanding the fundamental process of battery charging, you can take proactive steps to ensure your TTR 110's battery remains healthy and reliable.
History and Myths of Motorcycle Battery Charging
The history of motorcycle battery charging mirrors the evolution of battery technology itself. Early motorcycles often relied on magneto ignition systems that didn't require a battery. However, as electric starters and lighting became more commonplace, batteries became essential. The first motorcycle batteries were typically wet-cell lead-acid batteries, which required regular maintenance, including topping off the electrolyte levels with distilled water.
One common myth is that you can revive a completely dead battery by simply charging it for an extended period. While a good charge can often recover a partially discharged battery, a battery that has been deeply discharged for a long time or has suffered from sulfation is often beyond repair. Another myth is that using a car battery charger on a motorcycle battery is perfectly fine. While technically possible, car battery chargers typically deliver a much higher amperage than a motorcycle battery can handle, leading to overheating and potential damage. Some older riders swear by "trickle chargers" as the only way to go. Trickle chargers deliver a very low amperage charge continuously. While they can be useful for maintaining a battery's charge over the long term, modern smart chargers offer more advanced features and are generally a better choice. Understanding the history of battery technology and debunking these common myths allows you to make informed decisions about how to properly charge and maintain your Yamaha TTR 110's battery.
Hidden Secrets of TTR 110 Battery Longevity
The "secret" to a long-lasting TTR 110 battery isn't really a secret at all; it's consistent and proper maintenance. Many riders neglect their batteries, only thinking about them when the bike refuses to start. However, a proactive approach can significantly extend the battery's lifespan. The real hidden gems of battery maintenance lie in understanding the nuances of how batteries degrade and taking steps to mitigate those factors.
One often-overlooked aspect is the effect of temperature. Extreme heat and cold can both negatively impact battery performance and longevity. During the winter months, storing the TTR 110 in a cold garage can cause the battery to discharge more quickly. Similarly, during hot summer months, excessive heat can accelerate the battery's internal chemical reactions, leading to faster degradation. Using a battery tender during periods of inactivity is crucial. A battery tender is different from a regular charger in that it monitors the battery's voltage and only provides a charge when needed to maintain the optimal level. This prevents overcharging and helps to reduce sulfation. Another key factor is avoiding deep discharges. Repeatedly running the battery down to near zero can significantly shorten its lifespan. If you notice the battery struggling to start the bike, address the issue promptly rather than continuing to drain the battery. Regularly checking the battery terminals for corrosion and cleaning them with a wire brush can also improve conductivity and prevent parasitic drain. By implementing these "hidden" maintenance practices, you can ensure your Yamaha TTR 110's battery remains healthy and reliable for years to come.
Recommendations for Maintaining your TTR 110 Battery
When it comes to keeping your Yamaha TTR 110 battery in top shape, choosing the right tools and adopting consistent practices is key. There are countless battery chargers on the market, but not all are created equal. A smart charger with automatic shut-off and maintenance mode is highly recommended. Brands like Battery Tender and NOCO Genius offer reliable and user-friendly options that are specifically designed for motorcycle batteries.
In terms of maintenance practices, regular charging during periods of inactivity is paramount. If you only ride your TTR 110 occasionally, connecting it to a battery tender between rides can prevent the battery from discharging and sulfating. Before storing the bike for the winter, fully charge the battery and then connect it to a battery tender. This will ensure the battery remains in optimal condition throughout the storage period. It's also a good idea to periodically check the battery's voltage with a multimeter. A healthy 12-volt battery should read around 12.6 volts when fully charged. If the voltage drops below
12.4 volts, it's a sign that the battery may need to be charged. Furthermore, inspect the battery terminals for corrosion regularly. Corrosion can impede the flow of electricity and lead to starting problems. Cleaning the terminals with a wire brush and applying a battery terminal protectant can help prevent corrosion from forming. Lastly, consider investing in a battery load tester. A load tester applies a simulated load to the battery and measures its ability to maintain voltage under pressure. This can help you identify a weak battery before it fails completely. By following these recommendations and choosing the right tools, you can significantly extend the lifespan of your Yamaha TTR 110 battery and ensure it's always ready to go when you are.
Choosing the Right Battery Charger
Selecting the right battery charger for your Yamaha TTR 110 is crucial for ensuring both the longevity and optimal performance of your battery. A charger that's too powerful can damage the battery, while one that's too weak might not be able to fully charge it. Smart chargers are the way to go because they regulate the charging process, preventing overcharging and maintaining the battery at its peak state. Look for chargers with features like automatic shut-off, which stops charging when the battery is full, and maintenance mode, which provides a low-level charge to compensate for natural discharge over time.
When choosing a charger, consider the amperage rating. For a typical Yamaha TTR 110 battery, a charger with a 1-2 amp output is usually sufficient. Higher amperage chargers can charge the battery faster, but they also generate more heat, which can be detrimental. Opting for a slower, more controlled charge is generally safer and better for the battery's long-term health. Another important factor to consider is the charger's compatibility with different battery types. Some chargers are designed specifically for lead-acid batteries, while others can handle a wider range of battery chemistries. Make sure the charger you choose is compatible with the type of battery used in your TTR 110. Investing in a quality smart charger is a worthwhile investment that can save you money and headaches in the long run. By choosing the right charger and following proper charging procedures, you can significantly extend the lifespan of your battery and ensure your TTR 110 is always ready for your next ride.
Tips for Safely Charging Your TTR 110 Battery
Safety should always be your top priority when charging any battery. Working with electricity and potentially explosive gases requires caution. Following these simple tips will help ensure a safe and successful charging experience for your Yamaha TTR 110 battery.
First and foremost, always work in a well-ventilated area. Batteries release hydrogen gas during charging, which is highly flammable. Avoid charging the battery in a confined space, such as a closed garage, to prevent the buildup of explosive gases. Before connecting the charger, disconnect the battery from the TTR 110. This prevents any potential damage to the bike's electrical system and reduces the risk of sparks. Always disconnect the negative (-) terminal first, followed by the positive (+) terminal. When reconnecting the battery after charging, do the reverse: connect the positive (+) terminal first, followed by the negative (-) terminal. When connecting the charger to the battery, make sure the connections are secure and the polarity is correct. Double-check that the positive (+) clamp of the charger is connected to the positive (+) terminal of the battery, and the negative (-) clamp is connected to the negative (-) terminal. Reversing the polarity can damage both the battery and the charger. Never leave a charging battery unattended for extended periods. Periodically check the battery's temperature to ensure it's not overheating. If the battery feels excessively hot to the touch, disconnect the charger immediately and let the battery cool down. Avoid smoking or using open flames near a charging battery. The hydrogen gas released during charging is highly flammable and can easily ignite. By following these safety tips, you can minimize the risk of accidents and ensure a safe charging experience for your Yamaha TTR 110 battery.
Understanding Battery Sulfation
Battery sulfation is a natural process that occurs when a lead-acid battery discharges. During discharge, lead sulfate crystals form on the battery's plates. If the battery is not fully recharged promptly, these crystals can harden and become more difficult to dissolve. Over time, this hardened lead sulfate can reduce the battery's capacity and ability to accept a charge. Sulfation is a leading cause of battery failure, especially in batteries that are stored for extended periods or frequently discharged deeply.
Preventing sulfation is key to extending the lifespan of your Yamaha TTR 110 battery. The best way to prevent sulfation is to keep the battery fully charged whenever possible. Using a battery tender during periods of inactivity can help prevent the formation of hardened lead sulfate crystals. Battery tenders provide a low-level charge that compensates for the battery's natural self-discharge, keeping it at its peak voltage. If your battery has already suffered from sulfation, there are desulfation chargers available. These chargers use a special pulse charging technique to break down the hardened lead sulfate crystals and restore some of the battery's capacity. However, desulfation chargers are not a miracle cure and may not be able to fully restore a heavily sulfated battery. Regularly charging your battery, avoiding deep discharges, and using a battery tender are the best ways to prevent sulfation and keep your Yamaha TTR 110 battery in top condition. Understanding the process of sulfation and taking proactive steps to prevent it can significantly extend the life of your battery and save you money in the long run.
Fun Facts about Motorcycle Batteries
Motorcycle batteries, despite their seemingly simple function, are packed with interesting history and little-known facts. For instance, did you know that the earliest motorcycles didn't even use batteries? They relied on magnetos to generate the spark needed for ignition. Batteries only became essential as electric starters and lighting systems were introduced.
Another fun fact is that the electrolyte inside a lead-acid battery is actually a diluted solution of sulfuric acid. This acid is highly corrosive, which is why it's important to handle batteries with care and avoid spills. The capacity of a motorcycle battery is measured in amp-hours (Ah), which indicates how much current the battery can deliver over a specific period. A higher Ah rating means the battery can power electrical components for longer before needing to be recharged. Motorcycle batteries are typically smaller and lighter than car batteries, but they are designed to deliver a high burst of current to start the engine. This high-current capability is crucial for overcoming the engine's initial resistance. The design of motorcycle batteries has evolved significantly over the years. Modern sealed lead-acid batteries are maintenance-free, meaning they don't require the addition of water. These batteries are also more resistant to vibration and spills, making them ideal for the demanding conditions of motorcycle riding. Understanding these fun facts can give you a greater appreciation for the technology that powers your Yamaha TTR 110 and help you make informed decisions about battery maintenance and care.
Step-by-Step Guide to Charging your TTR 110 Battery
Let's break down the battery charging process into a simple, step-by-step guide to ensure you get it right every time. This guide assumes you have a compatible battery charger and a safe working environment.
Step 1: Gather Your Supplies. You'll need your Yamaha TTR 110, a compatible battery charger (preferably a smart charger), a wrench to disconnect the battery terminals, and safety glasses. Step 2: Locate the Battery. The battery is usually located under the seat or behind a side panel. Consult your owner's manual if you're unsure of its location. Step 3: Disconnect the Battery. Use the wrench to loosen the nut on the negative (-) terminal and carefully remove the cable. Repeat the process for the positive (+) terminal. Always disconnect the negative terminal first to prevent short circuits. Step 4: Connect the Charger. Attach the charger's positive (+) clamp to the battery's positive (+) terminal and the charger's negative (-) clamp to the battery's negative (-) terminal. Double-check that the polarity is correct. Step 5: Set the Charging Rate. If your charger has adjustable charging rates, set it to a low amperage (1-2 amps is usually sufficient). A slower charge is gentler on the battery. Step 6: Charge the Battery. Plug the charger into a power outlet and let it charge the battery. The charging time will depend on the battery's state of discharge and the charger's amperage. Consult your charger's instructions for estimated charging times. Step 7: Monitor the Charging Process. Periodically check the battery's temperature to ensure it's not overheating. If the battery feels excessively hot, disconnect the charger immediately. Step 8: Disconnect the Charger. Once the battery is fully charged, unplug the charger from the power outlet and disconnect the clamps from the battery terminals. Step 9: Reconnect the Battery. Reattach the battery cables to the terminals, starting with the positive (+) terminal and then the negative (-) terminal. Tighten the nuts securely. Step 10: Test the Battery. Start your TTR 110 to ensure the battery is properly charged and functioning. By following these steps carefully, you can safely and effectively charge your Yamaha TTR 110 battery and keep it in top condition.
What If Charging Doesn't Work?
Sometimes, despite your best efforts, a battery simply refuses to charge. Before you resign yourself to buying a new battery, there are a few troubleshooting steps you can take to identify the underlying issue.
First, double-check all the connections. Make sure the charger clamps are securely attached to the battery terminals and that the polarity is correct. A loose connection can prevent the charger from properly delivering current to the battery. Next, test the charger itself. Use a multimeter to check the charger's output voltage. If the charger is not producing the correct voltage, it may be faulty and need to be replaced. If the charger is working properly, the next step is to test the battery's voltage with a multimeter. A fully charged 12-volt battery should read around 12.6 volts. If the battery's voltage is significantly lower than this, it may be deeply discharged or damaged. In some cases, a deeply discharged battery can be revived by using a desulfation charger. However, if the battery is severely damaged, it may not be possible to recover it. Another potential issue is a short circuit in the battery. A short circuit can cause the battery to discharge rapidly and prevent it from accepting a charge. If you suspect a short circuit, have the battery professionally tested. Finally, consider the age of the battery. Motorcycle batteries typically last for 2-5 years, depending on usage and maintenance. If your battery is older than 5 years, it may simply be nearing the end of its lifespan. In this case, replacing the battery is the most reliable solution. By systematically troubleshooting the charging process, you can identify the cause of the problem and take the appropriate steps to resolve it.
Listicle: 5 Signs Your TTR 110 Battery Needs Charging (or Replacing)
Knowing when your Yamaha TTR 110 battery is on its way out can save you from inconvenient breakdowns. Here's a quick list of telltale signs:
1. Slow Cranking: If the engine cranks slowly or hesitates before starting, it's a clear indication that the battery is struggling to deliver enough power. 2. Dim Lights: Weak headlights or taillights, especially when the engine is idling, can indicate a low battery voltage. 3. Clicking Sound: When you press the starter button, a rapid clicking sound often means the battery doesn't have enough juice to engage the starter motor. 4. Difficulty Starting in Cold Weather: Cold temperatures can significantly reduce battery performance. If your TTR 110 struggles to start on cold mornings, the battery may be weakening. 5. Swollen Battery Casing: A bulging or swollen battery casing is a sign of internal damage, often caused by overcharging or extreme temperatures. In this case, the battery needs to be replaced immediately. If you notice any of these signs, it's time to charge your battery or consider replacing it. A healthy battery is essential for reliable performance and a hassle-free riding experience.
Question and Answer about how to charge yamaha ttr 110 battery
Q1: How often should I charge my Yamaha TTR 110 battery?
A1: It depends on how often you use the bike. If you ride regularly, the bike's charging system should keep the battery topped up. However, if the bike sits for more than a week or two, it's a good idea to connect it to a battery tender to prevent discharge.
Q2: Can I use a car battery charger on my TTR 110 battery?
A2: It's generally not recommended. Car battery chargers typically deliver a much higher amperage than a motorcycle battery can handle, which can damage the battery. Use a charger specifically designed for motorcycle batteries.
Q3: How long does it take to charge a TTR 110 battery?
A3: Charging time depends on the battery's state of discharge and the charger's amperage. A low-amperage charger (1-2 amps) can take several hours to fully charge a depleted battery. Consult your charger's instructions for estimated charging times.
Q4: How do I know if my TTR 110 battery is bad?
A4: Signs of a bad battery include slow cranking, dim lights, difficulty starting, and a swollen battery casing. You can also have the battery tested by a professional to determine its condition.
Conclusion of how to charge yamaha ttr 110 battery
Keeping your Yamaha TTR 110 battery properly charged is vital for ensuring reliable starting and overall performance. By understanding the type of battery used in your bike, choosing the right charger, following safe charging practices, and implementing regular maintenance, you can significantly extend the battery's lifespan and avoid the frustration of a dead battery. Remember the key takeaways: use a smart charger, avoid overcharging and deep discharges, and store the battery properly during periods of inactivity. With a little care and attention, you can keep your TTR 110 ready for adventure whenever you are!